Friday, 10 October 2014

The Edinburgh Project

A Documentary about the Grassmarket:

 Our first project of the semester was to collaborate with other animation years and create a documentary about a street in Edinburgh. We chose the Grassmarket; a famous and historic part of Edinburgh's old town. Visually the Grassmarket is very atmospheric with it's old buildings, dark closes and cobblestone streets, and especially with the Edinburgh harr/mist (as photographed below, on our first research trip to the street).


Our original idea was to create an animation that journeyed through the Grassmarket's contrasting history. The Grassmarket for a long time was one of Edinburgh's major market places - the name 'Grassmarket' supposedly deriving from grazing pens for livestock. For a period the Grassmarket had a darker history and was used for public hangings (the location of this, the 'Shadow of the Gibbet', is now marked in the modern street). Characters too such as Maggie Dickson and Burke and Hare are associated with the Grassmarket. A zeppelin bomb, intended for the castle, exploded in Grassmarket in WW1. The street has also gone from being a poor area of Edinburgh to a thriving tourist street. We wanted to focus on this contrast - the street's rich and varied history.


From "Haunted Hogmanay", by Edinburgh based studio Ko-Lik.

We decided early on to use paper cut-outs as a quick way to make the animation. We also wanted to play around with a mixed-media animation and compositing onto real footage of the Grassmarket.


Cows and first-person viewpoints...
Cows were originally going to feature in our film to show the marketplace history. I made a movable cut-out of a bull (shown above) - although in the end the cows were not so big a feature and wasn't used. On another note, I thought a film about the Grassmarket told form the viewpoint of a cow could be quite interesting! Cows were originally herded up the Cowgate from farms surrounding Edinburgh and then brought to the marketplace in Grassmarket...

The Final Film: 
Our original idea was to have an overall journey through the Grassmarket's history, but this idea was lacking in interest. We changed the idea to a mysterious Grassmarket filled with actual grass and a first-person viewpoint as a character shifted through the grass, discovering the history and life of the street like an explorer in a jungle. We made paper cut-outs as originally decided, animated these on the rostrums, then composited this onto real footage of the Grassmarket. We also recorded the ambiance and sounds of the Grassmarket for the film, as well as adding additional sound effects. Editing and compositing took place in After Effects and Premier, and was the biggest challenge. The film required a massive edit in the end to make it more focused. Our film ended up being quite different from our original idea, and although it also didn't turn out quite how we hoped, this was a good exercise in development and decision making I think. 


Group 1 The Grassmarket from ECA Animation on Vimeo.

Working as a Team:
Last but not least - the major aspect of this project was collaboration. Even if our film didn't turn out quite as planned, working with a group and learning from this experience was the most valuable exercise here. Our team manifesto is made up of pointers about how to work effectively as a group -  what we ourselves learnt from working together on this project and can apply to future groupwork:
- Do work, but have fun.
- Don't be afraid to say 'no' to ideas.
- Respect your team members and their work/ideas.
- Assign roles early.
- Focus on individual strengths.
- Organise regular group meetings.

Tuesday, 29 April 2014

Two Characters & A Setting

My story for the "Two Characters & A Setting" project went through a few different phases in development. The basic initial idea was to have a cat and an artist/animator, for the two characters, in some sort of studio-workspace for the setting. The cat would be a distraction to the artist and the film would generally be about the artist's difficulty in concentrating or in finding inspiration.


Above are some examples of my first storyboard. Initially I had the film taking place in a stuffy library with an artist creating some sort of manuscript, but this changed to an over-the-top artist in a studio in Paris (being the cliched arty city!). The story then took a different direction from being the cat simply distracting the artist to a competition between cat and artist. This new story could provide a good structure for the film I thought; the 'game' that would be introduced, have a 'to and fro' period, a turning point and then a resolution. The resolution/ending would have the cat triumphant in creating an unexpected masterpiece and the artist, who despite looking the part and his snobby artist air, is left with a blank canvas and frustration for being defeated by a cat.

Here is the second lot of storyboards (in animatic form) that I made for the changed final story idea. I also found a piece of music that I thought suited the film well, and incorporated that into the animatic:


Research & Development


Seeing as the film was going to be set in Paris, I wanted to try and incorporate the city's art history - such as Art Nouveau and the famous Chat Noir poster by Theophile Steinl. I went to Paris last year, so the city was somewhat fresh in my mind and I could also reference the photos I took (above), particularly focusing on the building styles. 

While designing the cat's character, I wanted the design to be fairly stylised and possibly even a Chat Noir sort of look. However, the Chat Noir/Art Nouveau style was really too complicated to be animated in the time I had for this project. I wanted to create the film in Adobe Photoshop but wasn't sure how long it would take to animate everything, so it was best to keep the designs as simple as possible. But I could still aim to make the cat's design look sleek and stylish!

(Also, I did of course observe my own cats while at home for Easter, and they provided me with much inspiration for the feline character's movement and behaviour!)


The final scene was going to be the cat's finished masterpiece, featuring the title 'ECA', painted on the floor. For this I wanted to try and recreate the Art Nouveau style - in-keeping with the Paris setting, and as a fairly complicated style of art that you might not expect a cat to create!

 I wanted the film to be bright and colourful, and for the setting to have a clear Parisian character. I have always admired the background art in Disney's '101 Dalmatians' and was hoping to attempt a similar style in my film, as well as play around with lighting a bit (I've added the concept artwork below, from Pixar's 'Ratatouille', as an example of lighting I admire).


Thoughts on the Finished Film

I really enjoyed making this film, especially doing the research and designing, and trying out Photoshop to make a longer animated film. I learnt a lot about animating in Photoshop and would definitely like to continue exploring and practicing this technique!
There are a few points to make about what I have learned or would have liked to improved on:

- First off for future projects, if time allows, I would like to spend more time developing the look of the film before I start animating. In particular the backgrounds; I had to rush the backgrounds a bit due to starting them last along with the colouring, and wasn't able to quite achieve the style or quality of background artwork I was hoping for (as mentioning earlier on in this post). It would have been better to have more thoroughly planned the setting and created some of the backgrounds earlier on. I also wondered later how a traditional background - such as a watercolour/ink drawing - would look with the digital animation, so something I will still try out in my own time!

- Furthermore, I mentioned lighting along with backgrounds earlier in this post too. I tried to add some interesting lighting into this animation but again was a little rushed at the end and didn't quite achieve the result I was hoping for. But adding that little bit of sunlight shining through the windows really added a lot more depth to the setting, which had before looked flat with little contrast.

- The other major point is that I think the 'to and fro' part of the film (when the cat is painting the masterpiece and the artist is onlooking frustratingly) was too brief. More spacing/time in this period of the film - one or two more quick scenes/shots maybe - may have given the final scene more impact. I think this may just take more planning and checking over what your doing as your doing it - seeing if scenes work together, what needs more time and work etc.

Otherwise, and overall, the film was great fun make! 
I have also somewhat-unofficially named it "L'Artiste" - hope you enjoy it!


Finished Film

16/5/14 - Here is the updated version of the film. I have made some small improvements to the original; I have added a little more animation, to add more lively-ness to the characters and more movement to certain scenes, and have added some more sound effects. So here is the finished, final version of my film!


L'Artiste - Two Characters & A Setting from Ali MacPherson on Vimeo.

Thursday, 13 March 2014

"Beyond Spaces" Animations

Just some wee animations I made for the "Beyond Spaces" project. We had to respond to a bus route in the city; so I choose two bus stops and made animated titles to represent them. The Scott Monument title was made completely on Photoshop - which was a good exercise for me as I have only just started using Photoshop for animation (this is also the first GIF I have ever made!) - and the St Andrew Sq title was a combination of Photoshop and Flash:


Thursday, 13 February 2014

The World in A Room

For my "World in a Room" scenario I wanted to have fun making a somewhat suspenseful scene...

The Scenario: 
My idea was to have the character to start off being quite relaxed or bored, but for there also to be a bit of a nervous atmosphere - I want the audience to suspect something is going to happen. When someone starts knocking on the door, the character is surprised and then nervous themselves as the knock becomings louder and more aggressive (the character was possibly even waiting for someone before, but the nature of the knocking on the door tells them that it is not who they were expecting). They go nervously to open the door, but when they do it turns out to be someone they know, and there is relief and release of tension! I wanted to play around with these very different atmospheres of relief and relaxation and suspense and nervousness.

Some Research:
Christopher Nolan's "Doodlebug", that we watched at the beginning of the project, was a good inspiration as the whole film had this very edgy atmosphere to it, which is what I wanted for the main part of my film. I also wanted to use the door in the room as a strong feature, as doors are often featured  dynamically or symbolically in film visuals... (a few random examples here)


Telling the Story:
So, to tell this story I needed to use the cinematic elements of;
1) The design of the shots
2) Lighting
3) Sound effects
4) Editing and pacing
First off, in the storyboarding phase, I thought a lot about the layout of the shots. The shots need to help establish a certain atmosphere. So for the more suspenseful scenes I opted for the over-dramatic tilted shots for that sense of unease. The door was to be an ominous element in the room too. I wanted  camera shots looking up at the door, almost a point of view shot from the characters nervous state of mind.
As for the lighting - I went for a yellow, warmish glow in the beginning around the character, but the door (and the source of the knocking) to be in shadow. In the middle part the character is then walking towards this shadow, and when the door opens and the character is relaxed again, we see the character and the room in warm light again.
The door knock sound effect was also to begin normally and become more aggressive and agitated. My flatmate knocked on a door for me and I recorded the sound; originally I had been recording myself, but it was good to have someone else take on the role of knocking on the door as it turned out to be much better. I got a sound effect a little different from what I had expected and it gave me a little extra perspective - somebody else's point of view/idea of what an angry knock should be!
As for editing and timing; I wanted it to begin and end quite slow and relaxed, but the driving middle part to be cut quickly and for the shots to become shorter and shorter leading to when the character opens the door. Although the slower pace was used to try and establish a more relaxed atmosphere, this is also quite good for again driving tension. When the character goes to open the door, there is then a longish pause in the darkness, waiting for the door to be opened - another attempt to make the scene suspenseful.

The Result:
This project has been great practice for thinking about and practicing the cinematic elements of lighting, camera shots, editing and sound effects! I think with my final film, I somewhat achieved what I was hoping for, but I could have pushed it much further. In particualar there are a few things to note of what I would change in the final film;
- The stop-frame animation is not as smooth and convincing as I would like. There are also some unwanted camera movements which was carelessness on my part - not noticing that while shooting. This is my first time doing proper stop-frame and using the 3D space (so I blame it on that!), but I think for the future now I will be better with having had practice. It was good fun doing stop-frame for a change anyhow!
- The sort-of-suspensful scene in the middle part is too short. This action happens fairly quickly so there isn't that much time for building tension! I wanted the scenes to be cut quickly to drive tension, but the overall walking to the door and opening action should last longer than it does in the final film (but then again, it was only supposed to be 30 seconds).

Overall with more time I would generally sharpen up the shots and editing, but I am quite happy with the result. This was a good exercise.

So, here are my storyboards put together in animatic form:


And here is the final film of "The World in a Room": 

The World in a Room from Ali MacPherson on Vimeo.

10 Films 10 Days

For the '10 Films 10 Days' project I set myself two themes to work with - animating various animals, and using different techniques/mediums.
I wanted stick to the challenge of making a film a day; so to have one completed animation to show for each day. This was a good exercise in decision making and rationality - I couldn't be over ambitious! Thinking up what to do for the films was challenging in such a short time, but overall it gave me a lot of inspiration and ideas for future films/animations.
It was also a chance to experiment and try new things. Most of the films I made are more like short animation exercises, as I felt this would be the best way to use the two weeks. I learnt a lot from doing some basic animal movements and walk cycles. For the different mediums I tried hand-drawn animation with pencil, pens, chalk on a blackboard, paint, marker pens on acetate, Adobe Flash and Adobe Photoshop animation (I also tried oil pastels but this didn't work so well so I didn't use it for a finished animation).

Just for fun (and as an easy way to group all the very short animations together), I have put together a wee showreel of some of the animations I made, with the theme of animals and different mediums. The password is "animal":


10 Films 10 Days - Animal Animation from Ali MacPherson on Vimeo.

Friday, 13 December 2013

Animated Christmas Card - Penguins, penguins, and more penguins


Happy Christmas one and all!

Alison MacPherson - The Skating Penguin - 2nd Yr ECA Animation from ECA Animation on Vimeo.

(Note: unfortunately I did not notice when uploading that the sound volume is very low, so you will have to turn it up a wee bit to properly hear the music!)


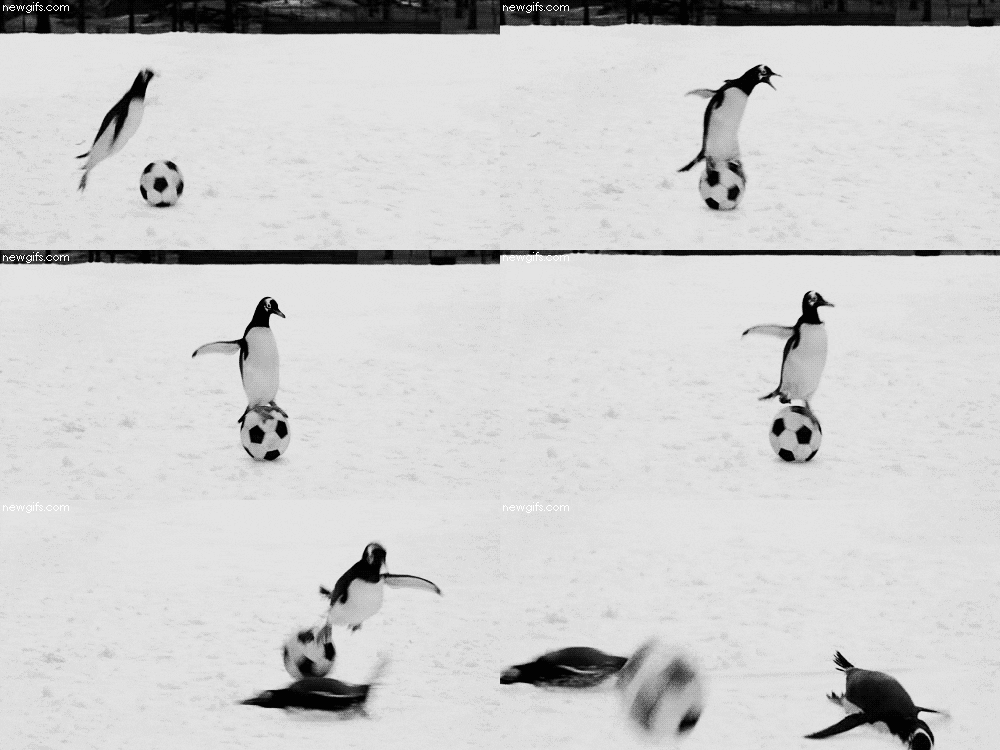
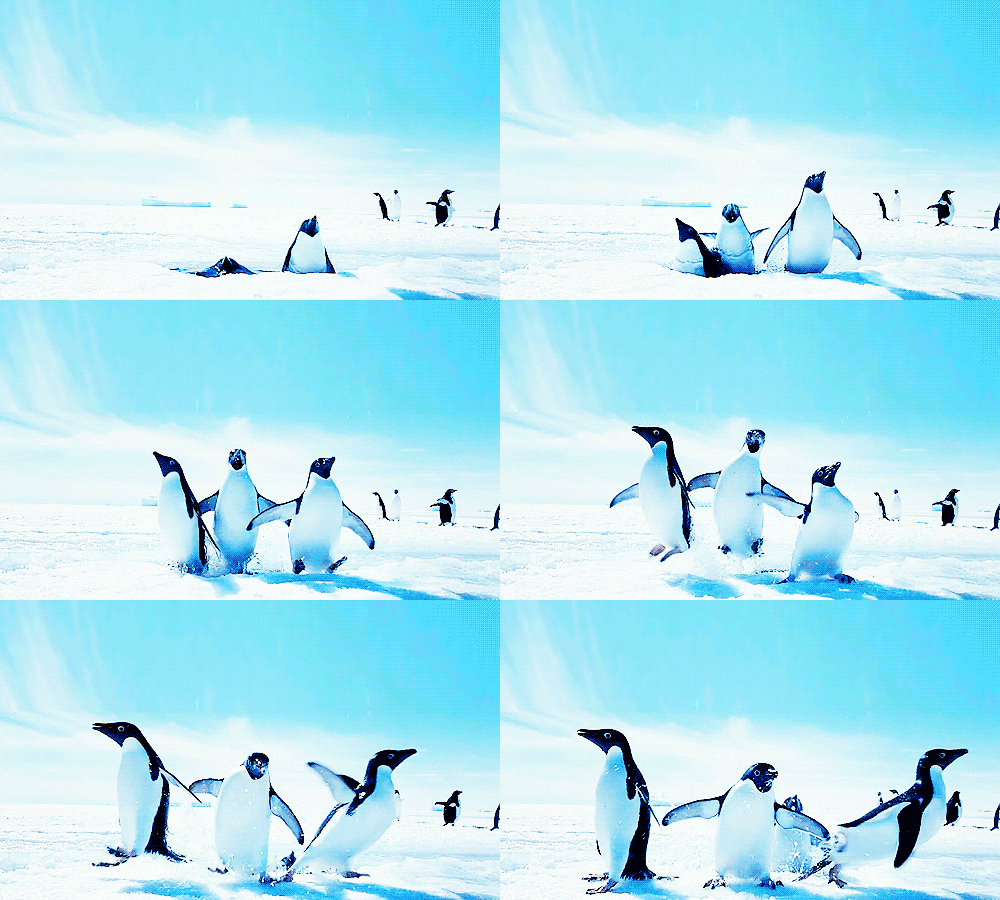
And for or those why might be interested, here is a little bit of my research for this animation. 
Who couldn't love penguins eh?


I also wanted to have that Edinburgh touch to the animation so there is a little homage in the title and in one scene, that you may or may not notice, to the painting The Skating Minister (or The Reverend Robert Walker Skating on Duddingston Loch, if you so prefer) that is in the National Gallery. 


And if you are really keen and are still even reading this, here is my animatic for this 30 second animation. I felt timing was important in this one, so I put together this animatic very quickly before getting started on the animation (plus I like storyboarding and making animatics....)

Password: penguin


Animated Christmas Card Animatic from Ali on Vimeo.


Have a wonderful holiday everyone and thanks for visiting!

Thursday, 5 December 2013

See Hear - Final Animation

For my final "See Hear" project animation I decided to return to animating with oil paint. I also wanted to include the deer as a more prominent aspect of the final animation. With some thinking and a bit of sketching, I planned out some new additions and then drew an animated pencil test of the deer. I then rotoscoped this pencil test when creating the animation in paint.


I certainly didn't want an unhappy ending with that gunshot sound effect, so I animated the stag reappearing after the gunshot. The stag is really meant to represent the general forest-like/natural surroundings, with him just forming from the flowing lines and disappearing again etc, but I don't think this idea comes across very strongly, mainly due to the shortness of the animation. With a bit more planning I could have developed and strengthen this idea further.
The concluding scene of the deer was animated as I went along, rather than creating a pencil test first. I had an idea of how I wanted the animation to be like and I wanted to just see how animating straight out with the paint would turn out. Not having a rotoscope or the sound clip gave me freedom with this end scene. It would be nice to have had some more music or sound ( I didn't really find anything really suitable that fitted), as it looses a bit of flow at the end there due to the sound suddenly ending. But I was pleased with the resulting animation. The freedom of just animating directly with the paint meant I could re-do things or change little bits as I went along, and just see where the flow of the animation would take the scene.

So here is my finished and final paint animation:


See Hear Animation from Ali on Vimeo.

Overall, this was good practice for working with paint. The final animation took a few days to finish. I found paint to be fairly time-consuming and a bit tedious, but I really like the end result. Paint animation seems to have a very lively quality to it. I think it will always be a time consuming technique, but maybe with more careful planning and organising, it could be a really good medium to use again.
Next time I will also be more careful with objects left roundabout the camera - there are some very annoying shadows popping in at the edges of the screen!! And that is entirely my fault for not noticing they were in the shot while animating...